Have you ever wanted to paint the interior of your house to give it that fresh new look but felt overwhelmed by the thought of taking on the task? Or have you ever wondered how to paint a house interior with a sprayer? Not many people like the idea of dragging a paintbrush around to paint walls and ceilings, let alone all the effort required for clean-up. To put it simply, it can be a tedious and time-consuming job. But what if we told you that painting the interior of your home can be much easier and way more efficient than you ever thought?
Spray painting is an incredibly effective method of painting walls and ceilings, allowing an even and smooth finish. Not only that, but it is also much faster and simpler to do, as compared to traditional brush painting, reducing the amount of time, energy, and effort spent on the task. With the right preparation and skillful use of a sprayer, you can create a stunning and professional-looking finish that will last for years to come. So, if you’ve been looking into giving your house interior a brand new look, but don’t know where to begin, then you’ve come to the right place.
In this blog, we’ll walk you through the steps and techniques required to efficiently paint your house interior with a sprayer. We’ll provide all the information you need, from choosing the right sprayer and prepping your surfaces to cleaning and maintaining it, so that you can get a perfect paint job done every time.
Now let’s begin learning how to paint a house interior with a sprayer!
Tips On How To Paint A House Interior With A Sprayer
What Are The Benefits Of Spray-Painting Your House Interior?

Spraying your house interior is an effective and efficient way to paint with a professional finish. It offers advantages over traditional painting methods, such as greater coverage in a shorter amount of time, and more even lines and curves.
- The main benefit of spray-painting your house interior is the time-saving effect. It can take up to five times faster to spray paint a space than it does to use a brush or roller. This is due to the wide coverage that can be achieved with each coat of paint. This also ensures that all areas are covered evenly, ensuring a more even and consistent finish.
- Another advantage of spray-painting house interiors is that it eliminates the need for lining tape. With a sprayer, the painter can precisely direct the paint to achieve crisp, clean lines and curves. This eliminates the need for special attention when fixing up edges with the brush. It also means less time spent on preparation and clean-up.
- Moreover, spray painting your house interior will keep your space free of any drips or streaks, meaning you won’t end up with paint where you don’t want it. This gives you greater control over the overall look and finish of your home.
- Finally, if you’re looking for a more consistent result, then spray painting can offer that. As each coat is applied evenly throughout the space, you can be sure that the final finish is even and consistent throughout. This saves time and effort when seeking to achieve a professional-looking finish.
Overall, the benefits of spray-painting your house interior include faster coverage, a smooth and precise finish, the ability to line and curve without lining tape, fewer drips and streaks, and a more consistent final appearance. Learning how to paint a house interior with a sprayer can ensure a sleek and professional result.
Preparing The Room For Spray-Painting
Spray painting is a great way to quickly and efficiently paint a house interior because of its ability to cover a large surface area with very little effort. However, before learning how to paint a house interior with a sprayer and finally begin spraying, it’s important to properly prepare the room by taking the necessary safety precautions and making sure the surface is ready for painting. So here’s how to go about getting a room ready for spray painting.
- First, remove all furniture, personal belongings, and decorative items from the room. You will also want to remove any fixtures such as electrical outlets, switch plates, door handles, and other wall accessories. Once all of these items have been removed, vacuum and dust the walls and floors to ensure they are free of dirt and debris. Then fill in any holes or cracks in the wall with spackling. Sand the surface smoothly before painting.
- Next, assemble the supplies you will need for the project. These may include drop cloths, painter’s tape, a paint roller and tray, a ladder, sandpaper, and painter’s gloves. Make sure you have the right type of sprayer for your paint. If you’re using pre-mixed paint, choose a pressure washer since it will distribute the paint more evenly. If you’re painting with latex-based paint, you’ll need an airless paint sprayer.
- Finally, make sure you’re wearing the proper safety equipment. The fumes from the paint can be hazardous so it’s important to wear a face mask and other protective gear. Additionally, use a respirator or a painter’s shield to keep the paint off your face and body.
Now that you’ve prepared the room, you’re ready to begin spray-painting your house interior. Following these steps will help to ensure that you get the best results when spray-painting and will help you to easily and safely paint a house interior with a sprayer.
Choosing The Right Equipment And Supplies

To get started on how to paint a house interior with a sprayer, it is important to choose the right equipment and supplies. A quality HVLP (high-volume, low-pressure) sprayer is essential for achieving a professional finish. This type of sprayer has the power to atomize paint finely for smooth, even coverage without overspray. A quality sprayer will have adjustable pressure settings, so you can adjust it for different types of paint.
You’ll also need a container for the paint, which should be capable of holding at least a liter of paint. To minimize the amount of time spent cleaning up, it is best to use disposable liners in the container. For masking off areas such as trim, windows, doors, and floors, you can use painter’s tape, drop cloths, and plastic sheeting.
When choosing the type of paint, be sure to carefully pick one that is suitable for interior use. You should also consider the sheen you want, as some paints may be better suited for matte or satin finishes. You should also consider a primer to prevent any chipping or peeling and ensure the paint adheres properly to the wall. Finally, you’ll need a clean cloth and a variety of brushes to help with the edging and detail work.
Once you have the right equipment and supplies, you are ready for the next step.
Setting Up The Sprayer
Setting up the sprayer is critical to achieving a successful paint job when spray-painting a house interior. Before beginning to paint, the sprayer must be set up and adequately tested to ensure that it is in proper working order. Here are the steps needed to properly set up the sprayer.
- First, attach an airless sprayer tip to the gun by unscrewing the tip guard and firmly screwing the tip into the gun. Make sure to double-check that the tip has been properly secured before continuing. Then, prepare the paint bucket by attaching the bucket and hose to the bottom of the sprayer. Be sure to tightly secure the connections between the bucket and hose and sprayer.
- Once the setup is complete, test the sprayer by setting the pressure to the lowest setting and inserting the spray gun trigger. If the trigger sticks or won’t insert properly, make sure to readjust the sprayer tip or the O-ring seal. When the pressure is correctly set, the sprayer should be ready for use.
- Lastly, check the spray tip size used to ensure that the paint is being dispersed evenly. The recommended tip size for most indoor painting projects is 311 or 313. To get satisfactory results, the correct tip size must be used as different tip sizes spray paint at different speeds depending on their diameter.
With the correct setup, how to paint a house interior with a sprayer will be easy and satisfying. The proper setup is a sure way to achieve a perfect paint job.
Applying The Paint

It’s time to start spray-painting your house interior! For best results, you should wear a pair of protective glasses and use a painter’s mask so you aren’t inhaling any of the paint particles. To ensure the paint is properly applied, thoroughly shake the paint canister before spraying.
To succeed in how to paint a house interior with a sprayer, begin by spraying a light coat of paint on a small section, making sure to keep your sprayer moving while spraying a consistent distance from the wall. The aim is to create an even layer of paint coverage that doesn’t have too much build-up in one area. After spraying this first light coat, wait 10 minutes, then apply a second coat. If needed, you can apply a third coat but make sure to wait a full 20 minutes between coats.
To achieve a smooth, even finish, you should be keeping your sprayer at least 8-12 inches away from the wall when spraying, and hold the gun around 12 inches from the surface with a slight downward angle. Once you have sprayed the entire wall, move on to the next section, overlapping each spray stroke for maximum coverage.
Once you have finished spraying, let the paint dry overnight or as instructed on the paint can before touching up any areas or adding another coat. With patience and attention to detail, you can successfully spray-paint your house interior and learn how to paint a house interior with a sprayer in no time.
Finishing Touches
Finishing touches are the last step when it comes to how to paint a house interior with a sprayer. At this stage, you need to check for any areas that may have been missed or if the paint has built up on the edges between the trim and ceiling. Once these are identified, use a brush and/or a small roller to cover them. Additionally, you should also take a damp cloth and wipe down all of the surfaces to remove any remaining dust or debris. This is important as it will ensure that the paint adheres properly.
- When painting around doors and windows, use painter’s tape to tape off the edges. This will prevent paint from getting into difficult-to-reach areas. Once the tape is in place, use a sprayer to apply even coats of paint on all of the surfaces. Ensure to keep the sprayer from holding the can too close to the surface and adjust the pressure accordingly.
- When the painting is complete, the tape can be removed. Depending on the type of paint you used, you may need to lightly sand the edges of the trim to give them a smooth finish. Any necessary caulking can also be done at this time to seal off the gaps between certain components such as windows and doors.
- Finally, use a lint-free cloth to clean off the sprayer and other tools used during the project. This will keep them in optimal condition and prevent paint from drying in the nozzle or on the exterior of the sprayer. With the sprayer and tools cleaned and stored, the job is done.
Congratulations, you’ve just completed a house interior painting project using a sprayer!
Conclusion

Spray painting with a sprayer can give professional results to any home interior. To get the best one, it’s important to have the right techniques and safety measures in place before starting the project. Learning how to paint a house interior with a sprayer requires special equipment and considerations to ensure a successful painting job.
To ensure the best results on how to paint a house interior with a sprayer, practice with the sprayer beforehand. You can do this by spraying a piece of cardboard with the same paint that you’ll use for the project. This allows you to gain confidence in your painting skills and techniques before starting the job.
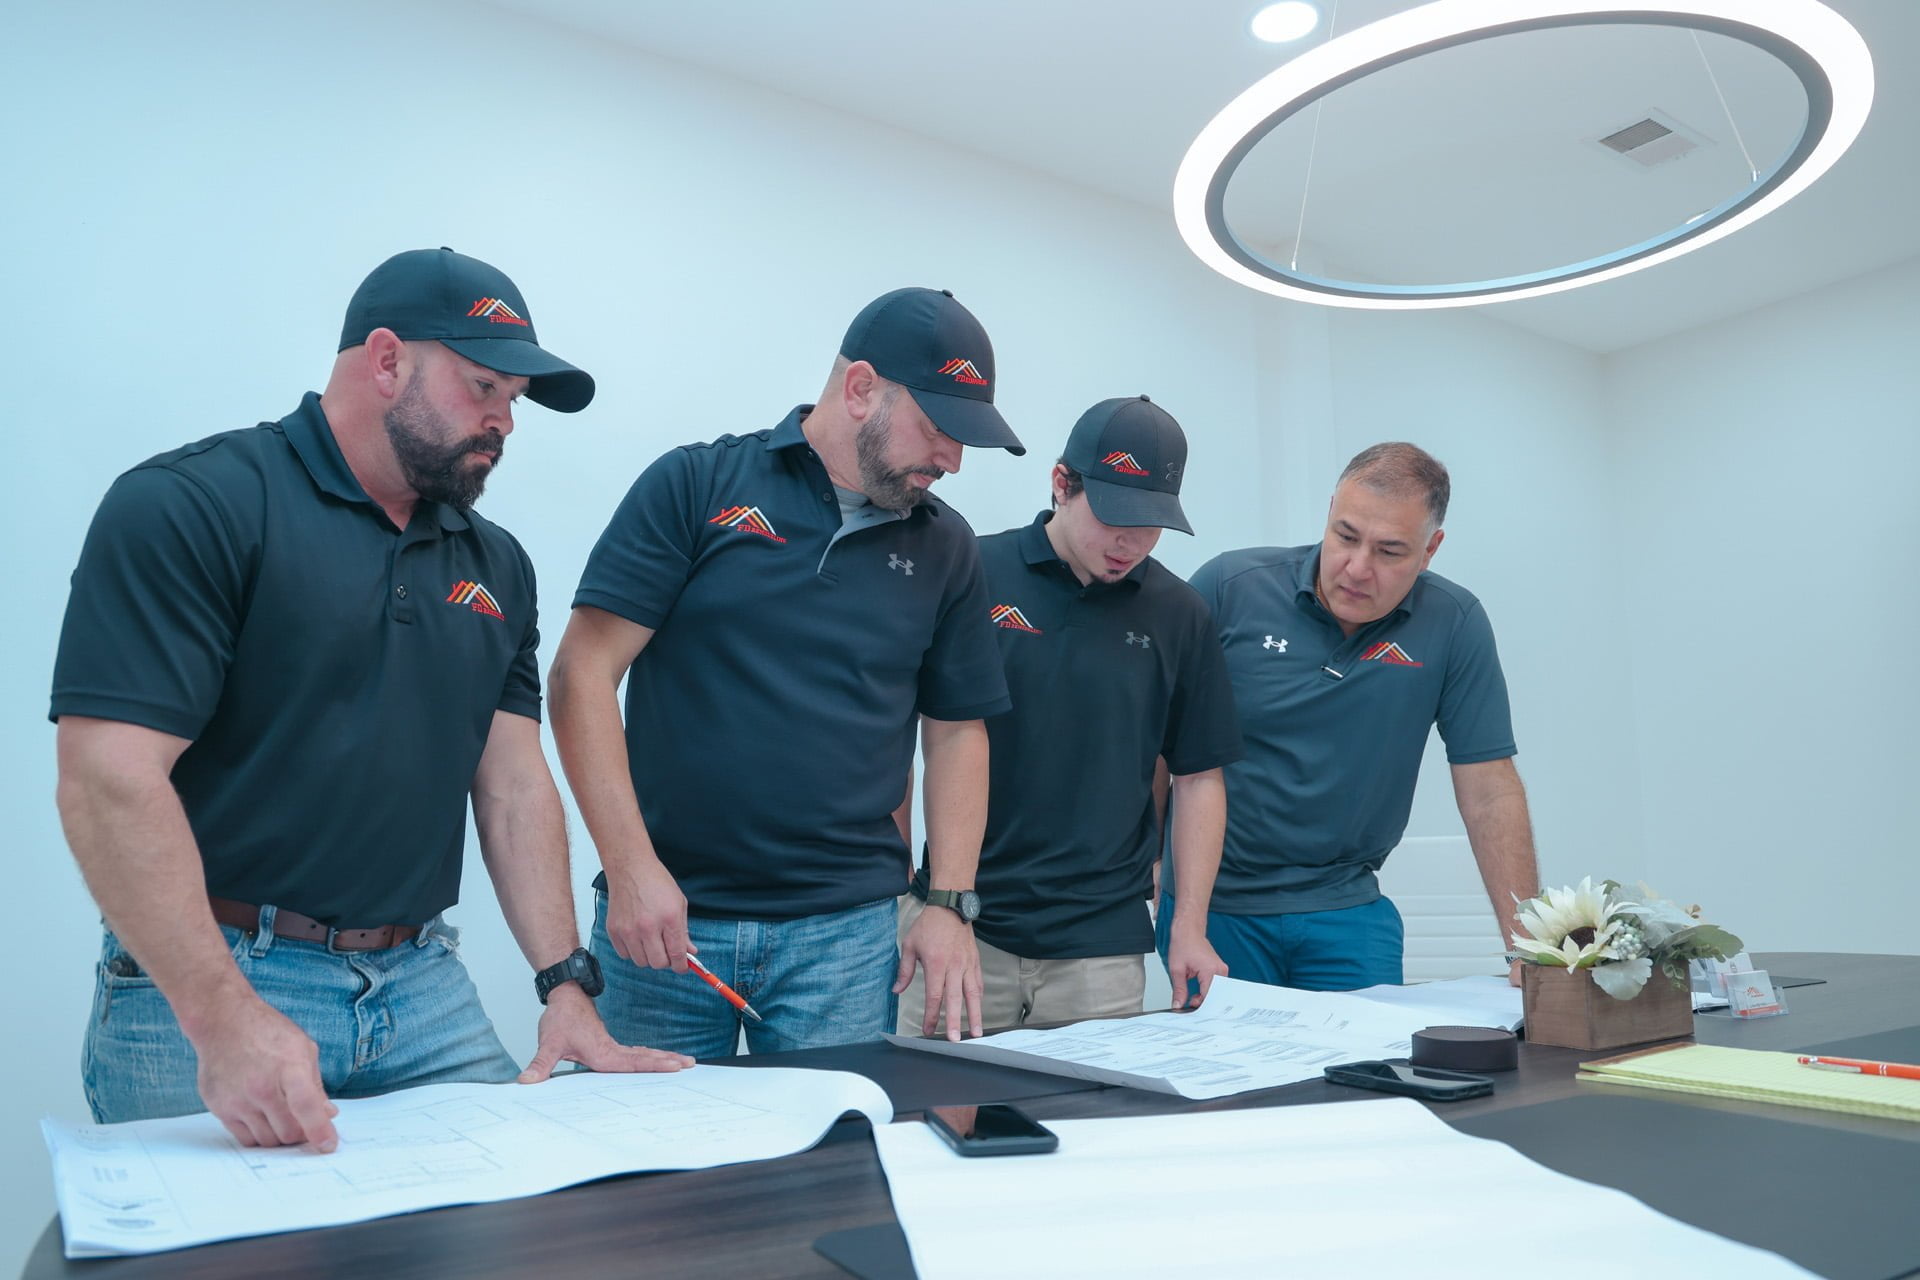
Need help renovating your home? Contact FD Remodeling today! Our experienced professionals can provide remodeling tips and other guides on the right equipment and techniques to get the job done quickly and efficiently. With a team of knowledgeable specialists and access to the most up-to-date painting tools, we can help you achieve stunning results for your home project.
Learn tips on how to paint a house interior with a sprayer and get a free contractor estimate!